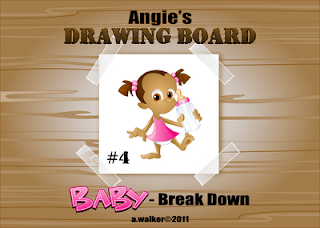
I had a project that calls for a baby taking a step (there's a possible walk cycle later). So here's the breakdown for that project.
I started with this pretty cool drawing of a little girl taking her first step. With little kids you have make their heads kinda bigger and give them larger eyes to add to the "cuteness" factor.
Once I scanned in the drawing of the baby I started working on redrawing that image in Freehand. I usually go around the whole drawing and then start looking for good spaces for high lights and shadows.
Then I select my color pallet so I can see if the skin tones I choose will go with the colors of the clothes (or vise versa) and once that's all hashed out, I start to fill in my outlines and add the gradients.
I tweak my color fills until they are just right, sometimes the gradients have to be adjusted so that they are all pointing towards the light source or some times they just look funky until you shift them!
Then I fill in all of my high lights and shadow areas and adjust those. I was going to just use the over lay drawing for the mouth and not have any color beneath it, but I changed my mind and added a mouth any way.
The baby needed a simple background so I added a gradient to a circle and put that behind her. The gradient made her skin tone pop out, so I did pretty good on the color matching! (I'm trying to work on improving my color pallets!)
I brought the color version that I worked on in Freehand into Photoshop to overlay the outline drawing onto it. I like how the rough pencil drawing looks over the color, but it would look crisp if I did the outlines in pen for a clear cut line.
Last, but not least, I added a pink gradient to the "Baby" lettering and put the text on the top layer of the image and that's that!


No comments:
Post a Comment